

How to create a message
In the message view, you create your message step-by-step and this article + video explains what each step does.
Below is a step by step written explanation of how you create your first message.
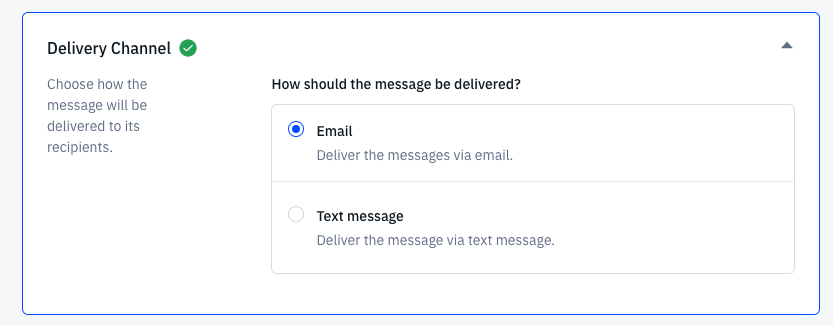
1. Delivery Channel
Section titled “1. Delivery Channel”The first step is setting the delivery channel. If connect Slack you also have that as a delivery channel.
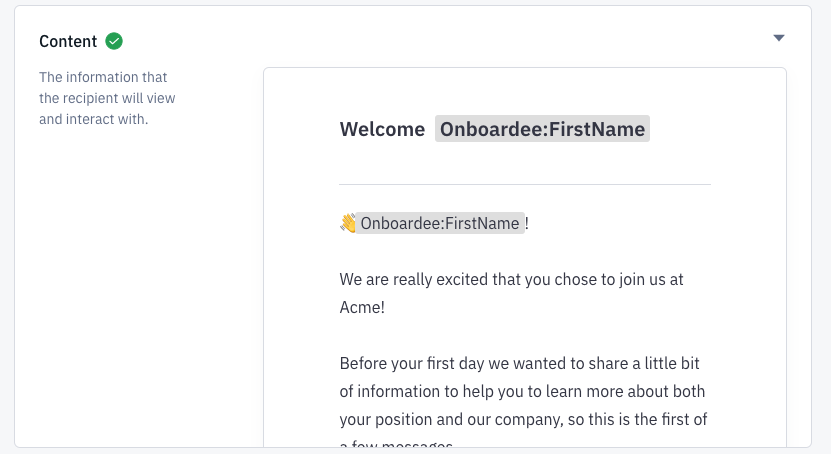
2. Content
Section titled “2. Content”The second step is writing the content and what should be included in the message. Here you can both personalise the message and add interactive content.
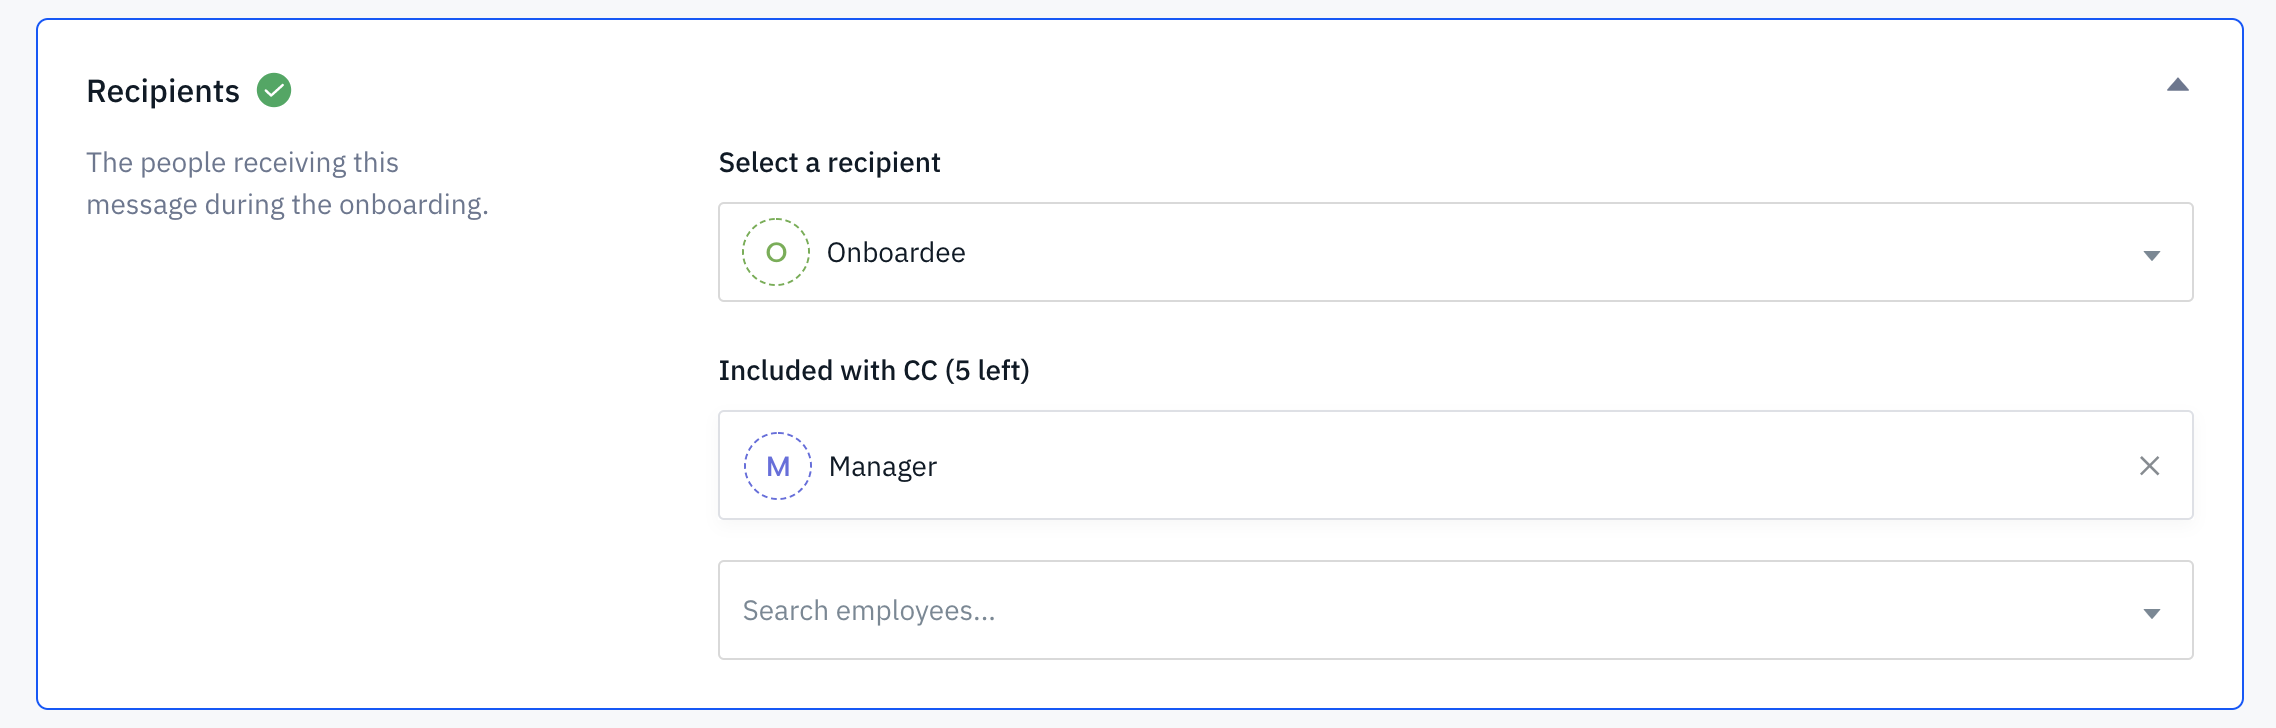
3. Recipients
Section titled “3. Recipients”Here you choose who the message should be sent to. If you want it to be sent to the new hire you choose “onboardee”. You can send the message to anyone that exists within the system.
You can also choose if you want to set anyone on CC in the recipient option. You can choose up to 6 people to put on CC.
Keep in mind that when including recipients on CC, no unique portal link will be included in the email as this would grant all recipients access to the main recipient’s portal. Instead we include a link to the portal’s login page where they can request access to their portal and the message.
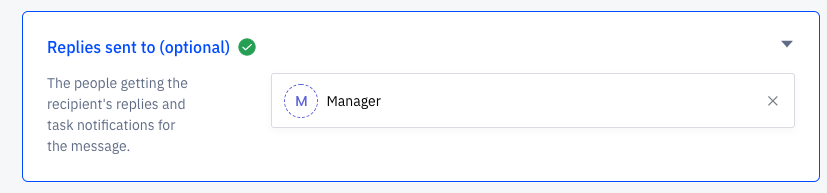
4. Reply sent to
Section titled “4. Reply sent to”Here you set if you want anyone to receive the answers create to the message. You can choose up to 6 employees to get the notification email.
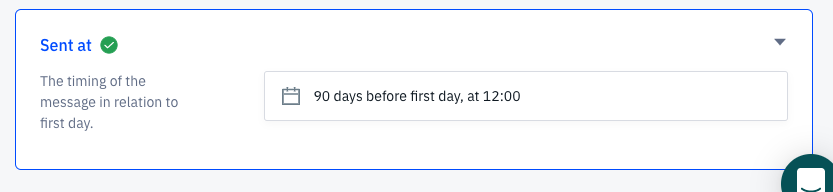
5. Sent at
Section titled “5. Sent at”Here you set when you want the message to be sent. You can choose to set it before or after their first or last day.
Make sure to save the message and that’s it!